The following script and information details how you can use send screenshots from Ubuntu Desktop 24 or a similar Linux device, to a server of your choosing. The script grabs information from the device so it can send it to a server running a REST API using the POST method. It includes text and a graphic image screenshot. The screenshot is taken using ImageMagick’s Import command.
Prerequisites
- A device running Ubuntu Desktop 20 or higher and connected to an active display screen.
- ImageMagick ( install intructions here –> How to Install ImageMagick on Ubuntu )
- A server or website running a REST API that can ingest the data and image attachment.
- Curl command. You can use the command below to install curl.
sudo apt update && sudo apt install curlHow to Install ImageMagick on Ubuntu Desktop
- Update your system with
sudo apt updateand then install ImageMagick withsudo apt install imagemagick. - That’s it.
Generate a screenshot using ImageMagick Import
First off, it can be a real pain grabbing screenshots on Ubuntu with a Wayland compositor. There is a tool, sudo apt install gnome-screenshot. However, that tool seems to have issues when running from a bash script and it also makes the screen flash. For my purposes, I don’t want the screen to flash so gnome screenshot is not an option. Instead, we will use ImageMagick’s wonderful Import command. The good news is, it has no flash on the screen and can be run from a bash script as well as a remote ssh connection.
Now, ImageMagick Import doesn’t play well with Wayland, so we will disable Wayland and enable X11 / xorg for our display compositor. There’s a few ways to accomplish this, but the way I suggest will be set once and done.
Step 1 – Disable Wayland and Enable X11 aka Xorg
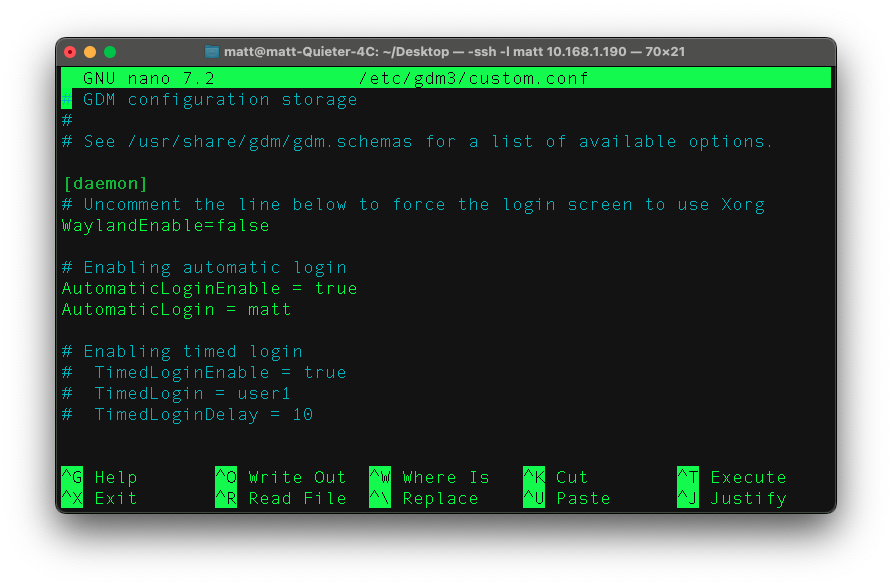
Edit the custom.conf and uncomment #WaylandEnable=false.
sudo nano /etc/gdm3/custom.confLook for the line #WaylandEnable=false and remove the hash / pound symbol so it looks like this WaylandEnable=false
While you have this custom.conf open in edit mode, you may want to enable automatic login so you don’t have to login every time the device reboots. To do this, look for the line AutomaticLoginEnable. Set that line to AutomaticLoginEnable = true. Then below that there should be another line with AutomaticLogin. For that line, set it to the username of the account you want to be automatically logged in.
The final resulting file should look similar to the screenshot below.
Save the file ( ctrl + x ) and restart your device or restart gdm3. Use the command below to restart gdm3 without having to reboot your device.
sudo service gdm3 restartYour screen should go black and shortly after you will be able to login back into your device.
Step 2 – Installing ImageMagick
Installing ImageMagick has gotten alot easier over the years. Now, it’s as simple as running the apt install command if your on Ubuntu 24, use the command below to get it installed in a jiffy. But wait, don’t forget to update your system…
Update your system with sudo apt update and then install ImageMagick with sudo apt install imagemagickStep 3 – Create the Screenshot Bash Script
You can put the script wherever you want, but I’ve found it best to just put it on the desktop of the device. Main reason for this, I’m not gonna be using the device as a daily driver. There’s a reason I am setting up screenshots via bash script and it’s becuase I’m using the device to display signage or other visual stuff that I want to keep an eye on. So, on to the script. It’s easy, btw 🙂
Create a file somewhere and name it so that you know what it’s purpose is. For me its as simple as opening up a terminal and opening a new file on the desktop. If you want to do that too, use the command below to get started. Open terminal from applications first though.
cd ~/Desktop \
nano take-screenshot.sh
Ok, so now you’re in the nano editor. Grab the code below and paste it into the editor. Ctrl + V should do the trick. Adjust the save location to your needs.
#!/bin/bash
# Script for sending a screenshot of an X11 compositor to a server
# Author: Mathew Moore | https://nwdigital.cloud

# get the local display, must be using Xorg, not Wayland.
# to enable Xorg, sudo nano /etc/gdm3/custom.conf and uncomment #WaylandEnable=false

# make sure DISPLAY is set. Should typically be what I have below, but google it if it doesn't work in your case
export DISPLAY=:0

# The server stuff

# grab the hostname of the local device
local_ip=$(hostname -I | awk '{print $1}')

# set the path, filename and extension of the image we want to create. (jpg, png, etc. or whatever ImageMagick can create )
screenshot="${HOME}/imgout.jpg"

# this is the device you have setup running the REST API aka the ingestion server
host="https://core.smashingwordpress.com"

# how often do you want to take a screenshot in seconds
interval=10

# remove old images before we start a new screen grab
rm $HOME/imgout*

# The loop
while true; do

   import -window root "${screenshot}"

   if [ -f "${screenshot}" ]; then

      curl -sS -k -F "ip=${local_ip}" \
      -F "hostname=${HOSTNAME}" \
      -F "file=@/${screenshot}" "$host/wp-json/nwd-ubcore/v1/register"

   else

      curl -sS -k -F "ip=${local_ip}" \
      -F "hostname=${HOSTNAME}" "$host/wp-json/nwd-ubcore/v1/register"

   fi

   sleep ${interval}

done
What this script does is sets up some variables to use for sending via Curl and then deletes any previous screenshots before creating a new screenshot.
Once you have the script in the editor, save the file and close it. ( ctrl + x ) then ‘y’ and enter.
Next, we need to make the script executable. If we try to run it at this point, it will simply fail. To make it executable, issue the command below.
chmod +x take-screenshot.shNow that the script is executable, let’s give it a try. Issue the command below to run it. As long as your still in the same terminal session, you should be able to issue the following command,
./take-screenshot.shIt should take a second or two. If all works out, there should be now errors and you should see something similar to the screenshot below.
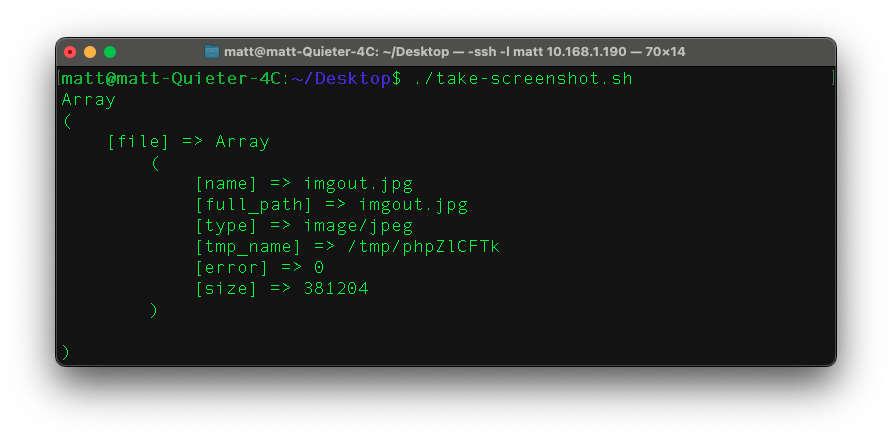
Review the screenshot in the folder you set in the take-screenshot.sh script and verify it’s there and looks correct. If that’s all good, then you can setup the script as a cron job or as a startup program. I’ll make another tutorial for how to do that stuff at a later date as well as how to setup the ingestion server.
I hope this helps you out with your Wayland Desktop nightmares. Switching back to X11 from Wayland is easy and it makes for a more reliable screenshot utility at this point. Hopefully there will be better ways in the future, but for now, X11 screenshot it is.
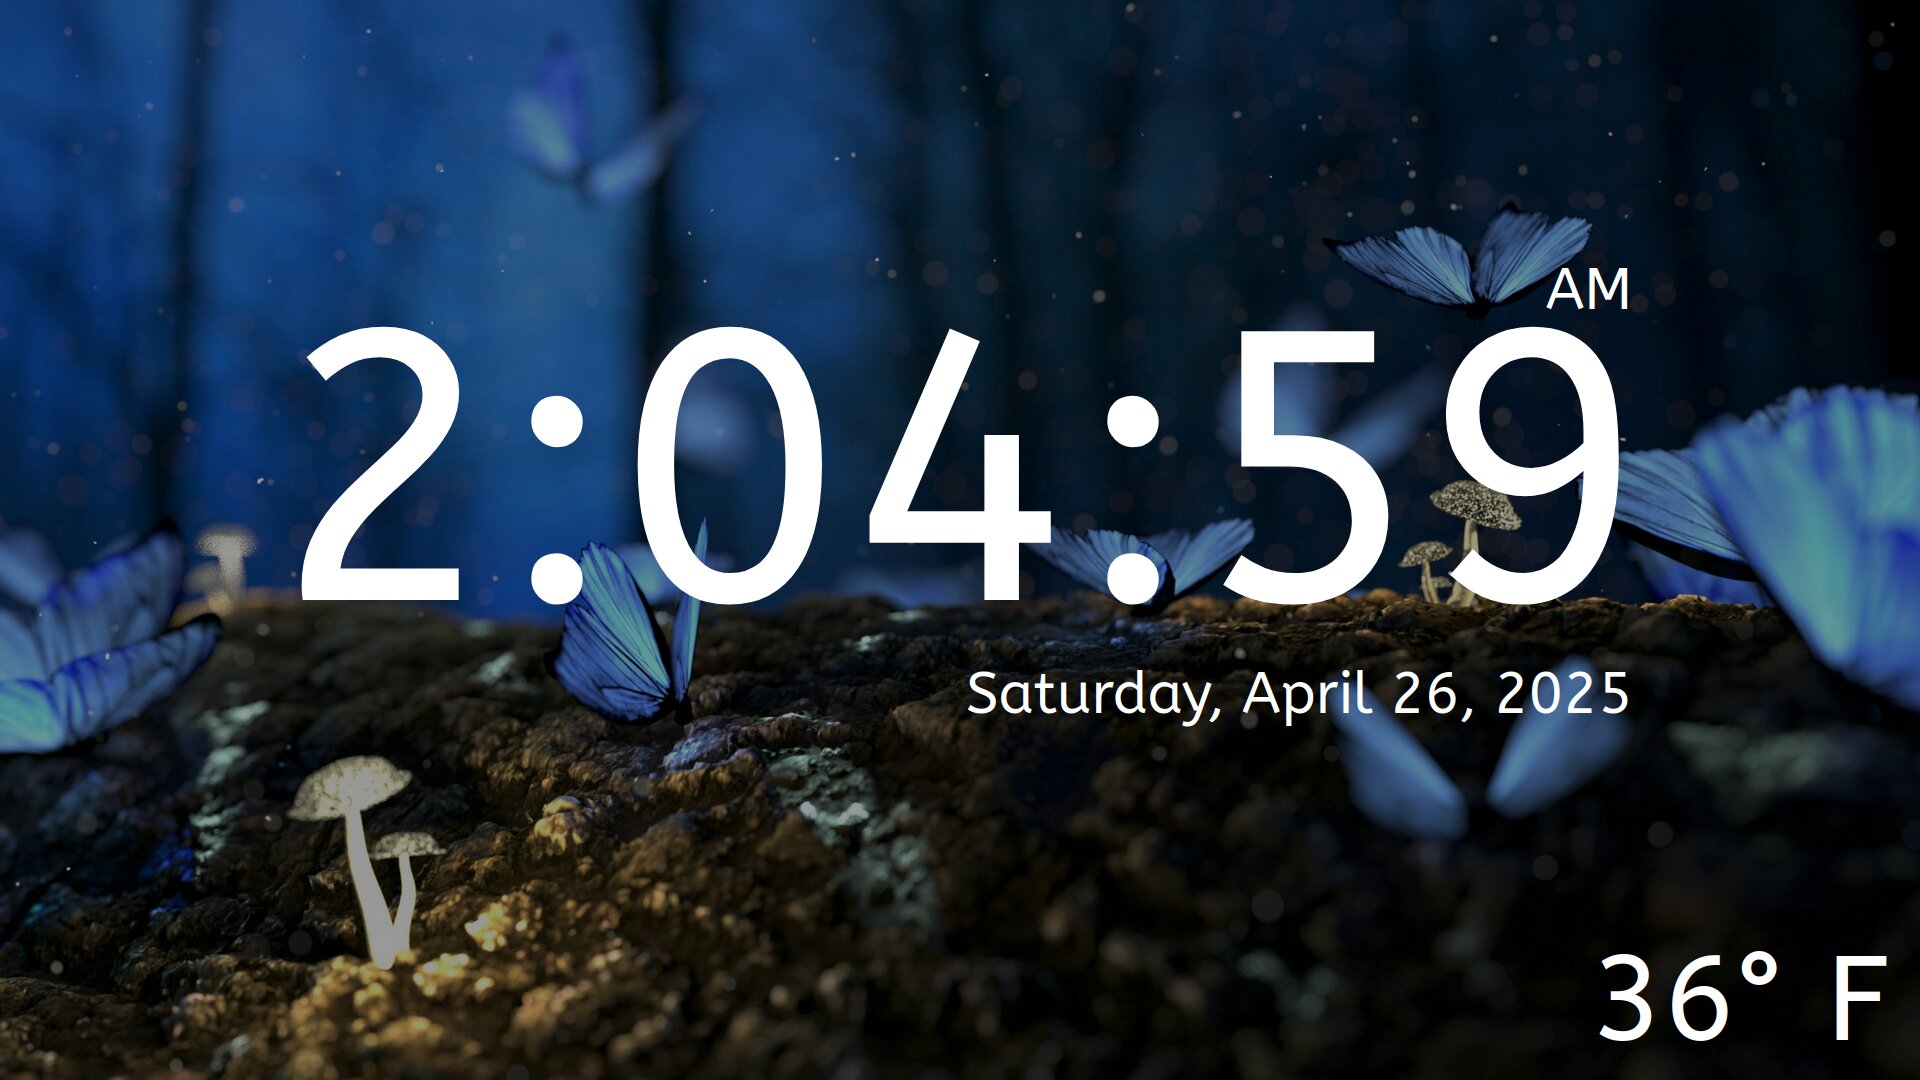
Oh, btw, the poster / featured image for this article was taken with this bash script!